
Categories
Highlight & Connect
Manage Categories
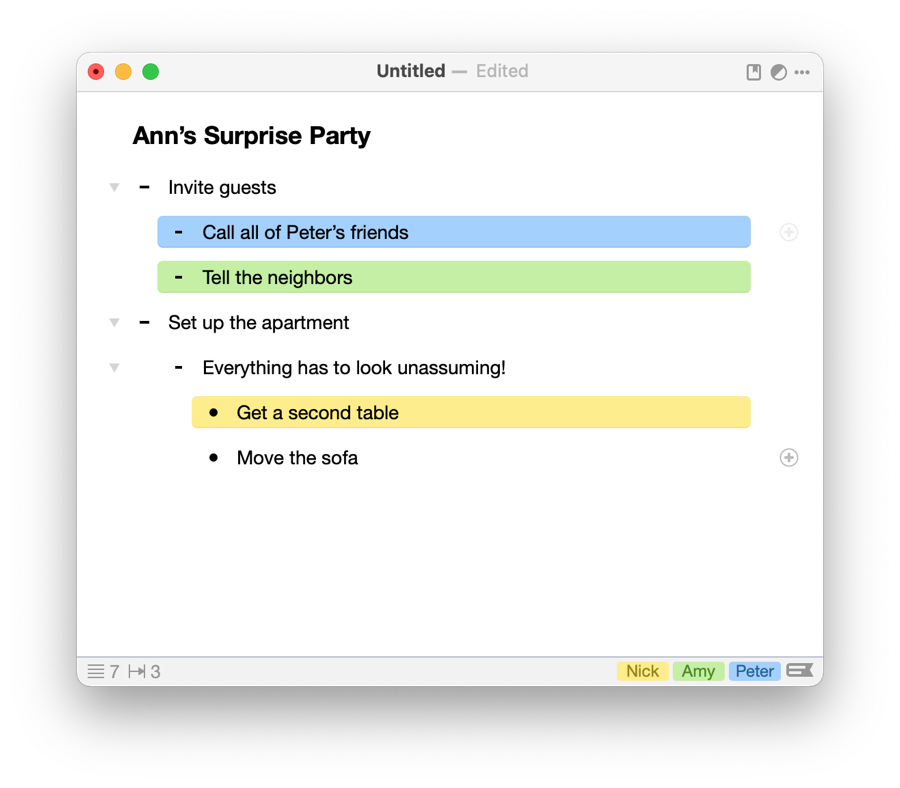
Color-coded category tags in OutlineEdit allow you to add a second layer of structure to an outline, independent of item positions in the document. To create or edit categories, click the categories button in the lower right of an OutlineEdit document window or select Categories ▸ Add & Edit Categories from the main menu. Starting with OutlineEdit 3, you can create up to ten category tags per document.
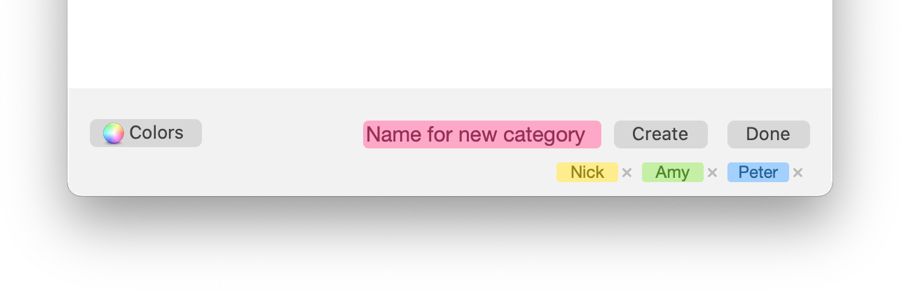
From the appearing menu, you can also rename existing categories by clicking on them or delete them entirely. There is a number of select color schemes that come with OutlineEdit, but you can also create and save custom ones. Do this right from the color scheme menu, by clicking on the Colors button on the left.
Choose a default category color scheme for all new documents from the application’s preferences.
Assign Categories

Click the '+' button on the right next to any item to assign a category or use the shortcuts cmd + 1 to cmd + 9. You can also remove an item from a category using the cmd + 0 shortcut. Or, on your supporting MacBook Pro, assign categories right from Touch Bar.
Filter

Click a category label in the lower right of a document window to see all items in the corresponding category. You can also select multiple categories when filtering. Dashed lines indicate breaks where items would have occurred in the complete document. Click the eye shaped button to the left of a an item to reveal its position in the unfiltered outline.
Filtered items can be exported directly using the export button in the upper right corner.
≡ Table of Contents Next: Statistics